This is a step-by-step video tutorial on how to create a 4 piece patterned coaster set with holder box using FREE SVG generators and a laser cutter.
Here is the companion video.
In this tutorial, I will be using 2 FREE SVG generators that can be accessed from Cutgen’s homepage
The first SVG generator is Patterned Shape Designer. This is a free 2D generator that allows you to quickly create basic shapes and fill with cool and interesting patterns. Read the documentation for more detail.

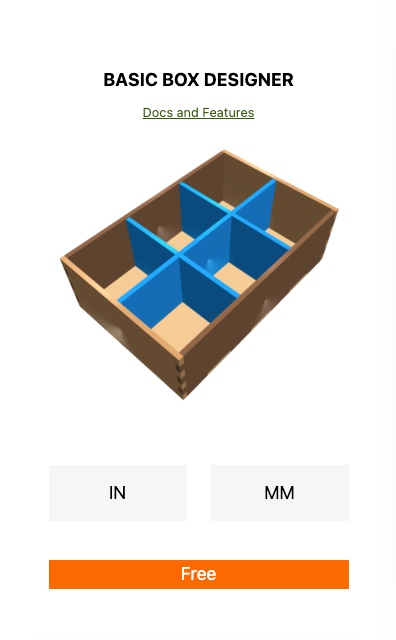
The 2nd SVG generator is Basic Box Designer. This is a free 3D modeling generator with tons of features. Check out the documentation for more detail.
To get started, you will need to set-up a FREE account to gain access to these generators.
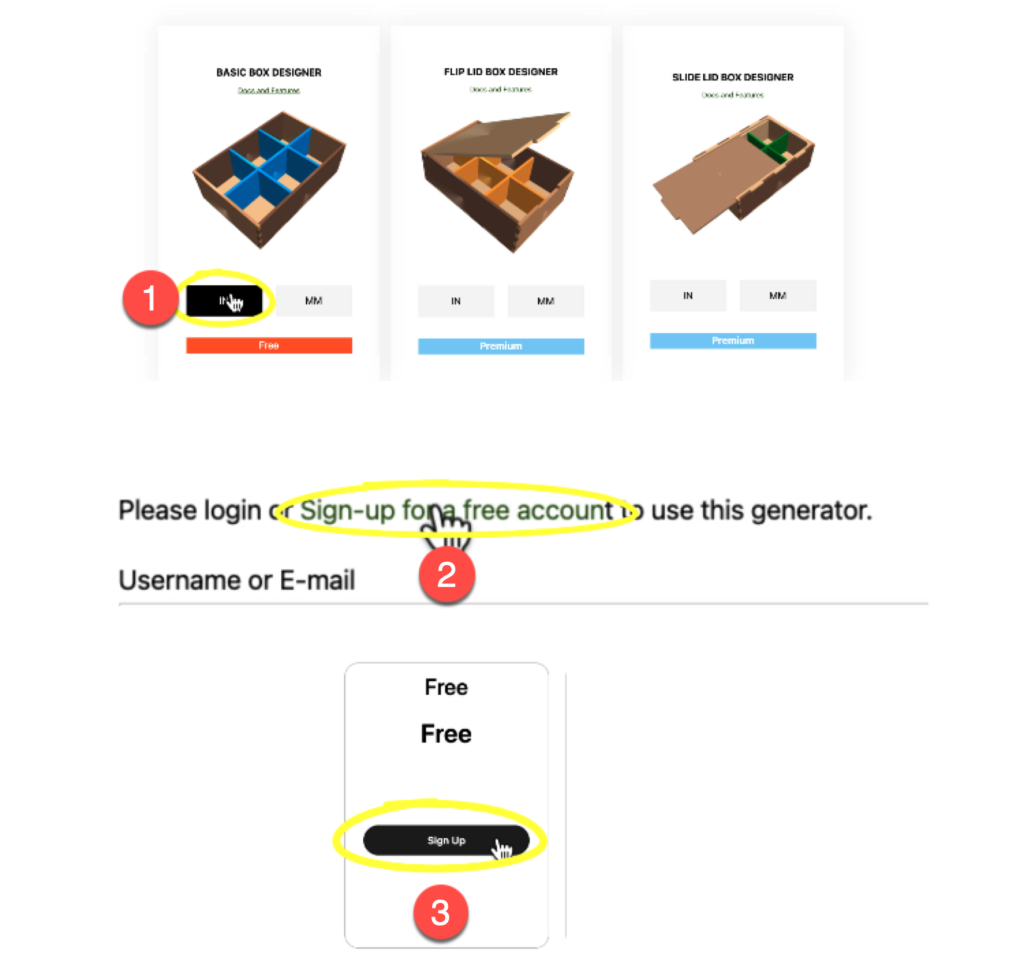
Now that the free account is created, login (if prompted) and click on the Patterned Shape Designer ‘START’ button.
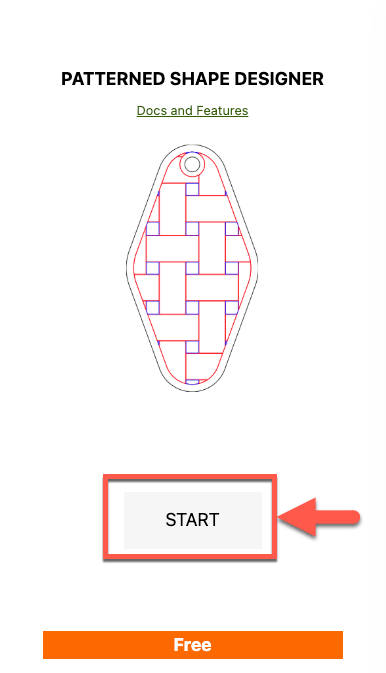
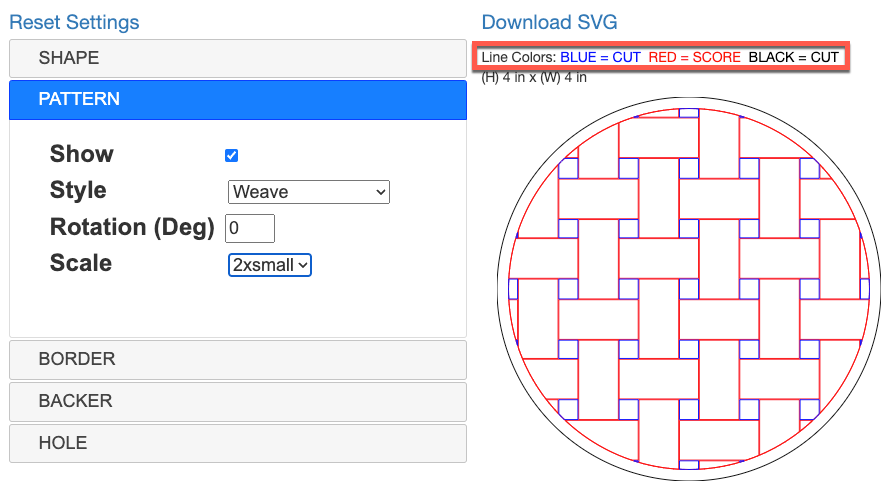
You will then be presented with the application interface.
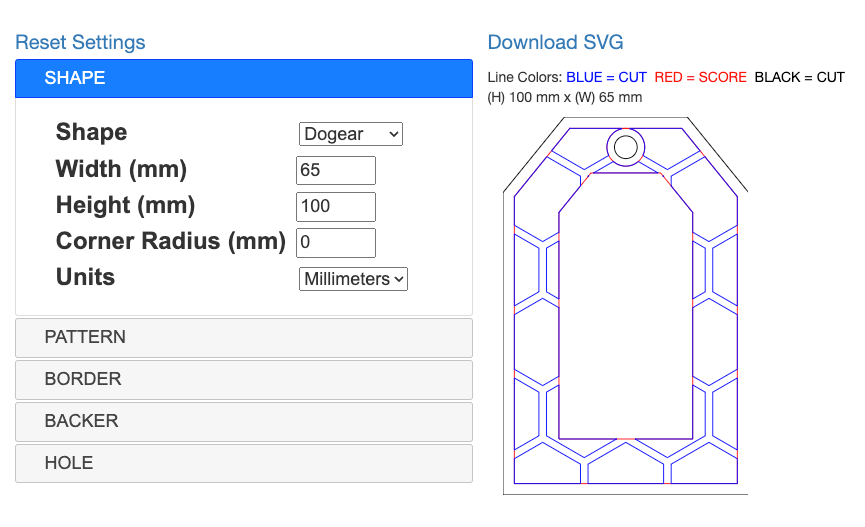
Using this tool, I’m going to create 4 different coater designs. First, I’ll need to set some basic parameters to begin the process using 6 easy steps.
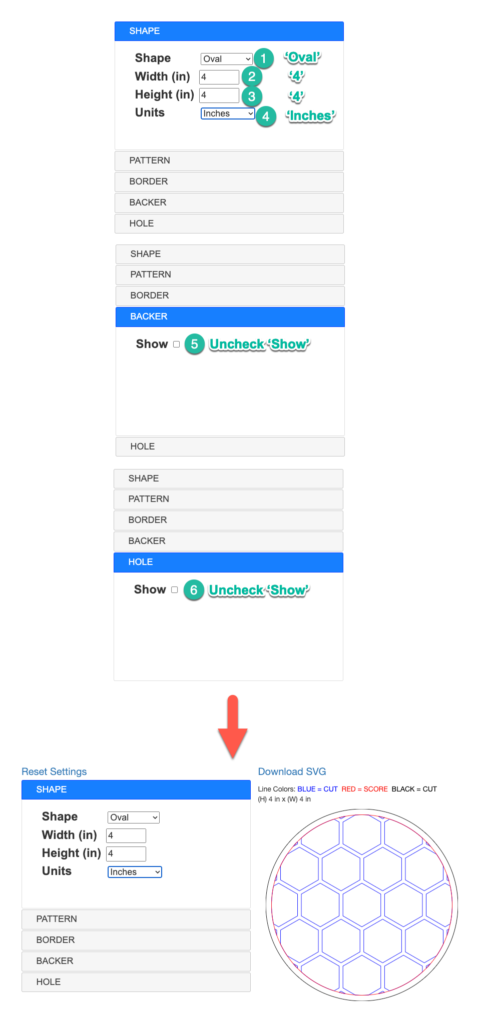
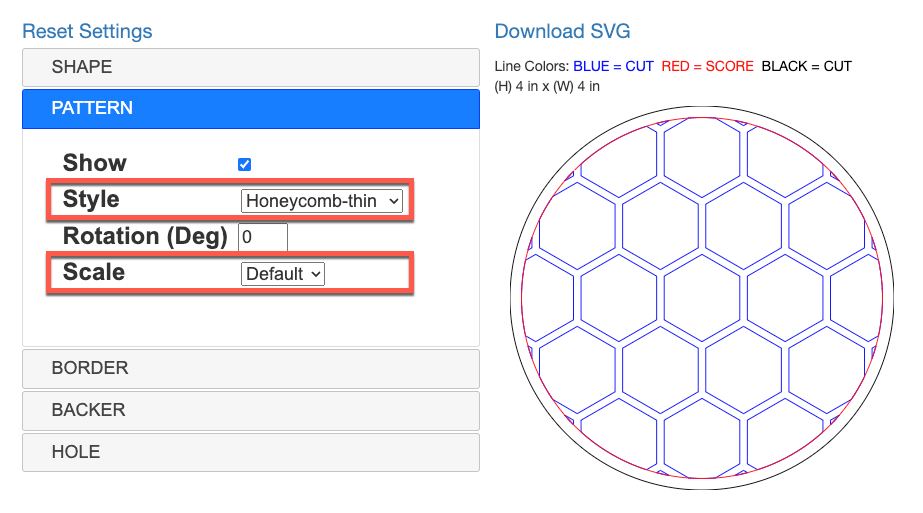
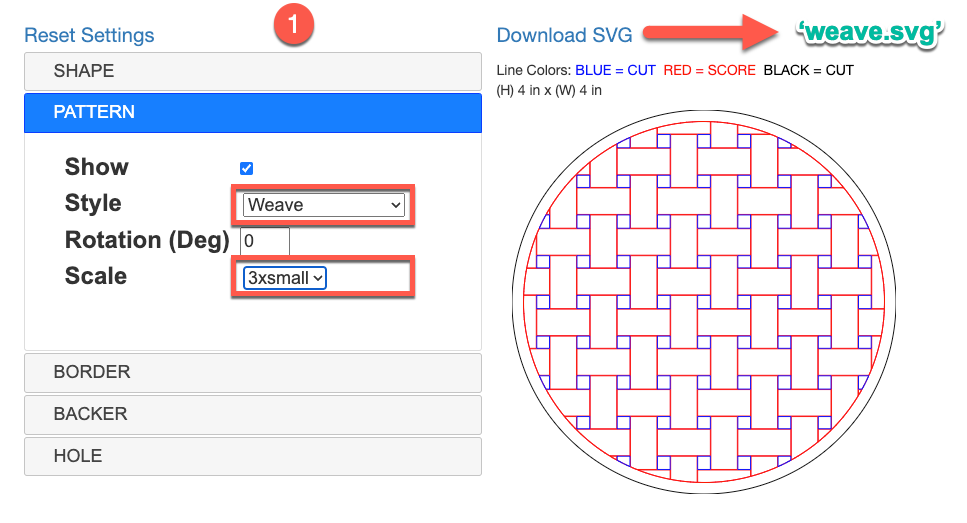
This will be the starting point for designing each of the 4 coaster designs. At this point, I will only be adjusting the Pattern ‘Style’ and Pattern ‘Scale’ for each design.
So for the first ‘Weave Pattern’ coaster I will use the following parameters. When completed, I downloaded the SVG and saved as ‘weave.svg’.
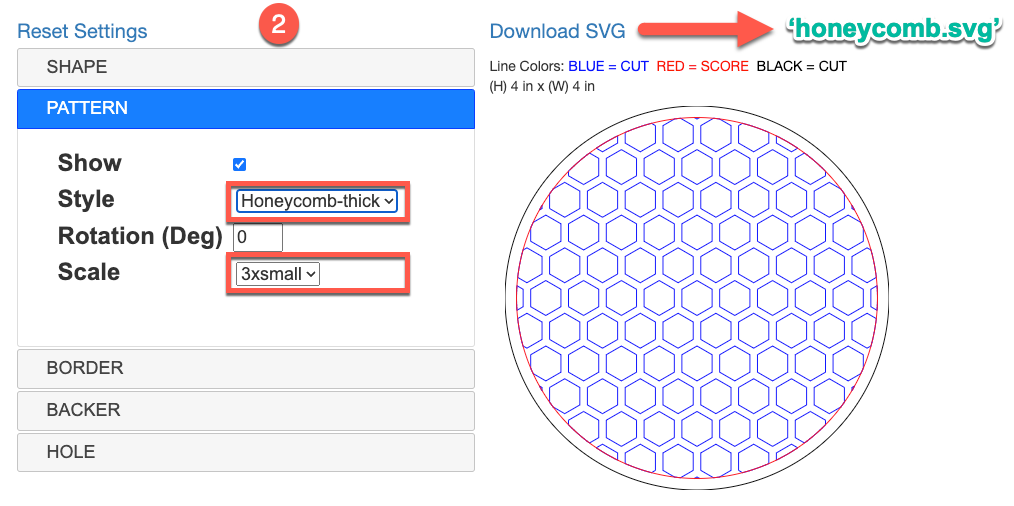
So for the first ‘Honeycomb Pattern’ coaster I will use the following parameters. When completed, I downloaded the SVG and saved as ‘honeycomb.svg’.
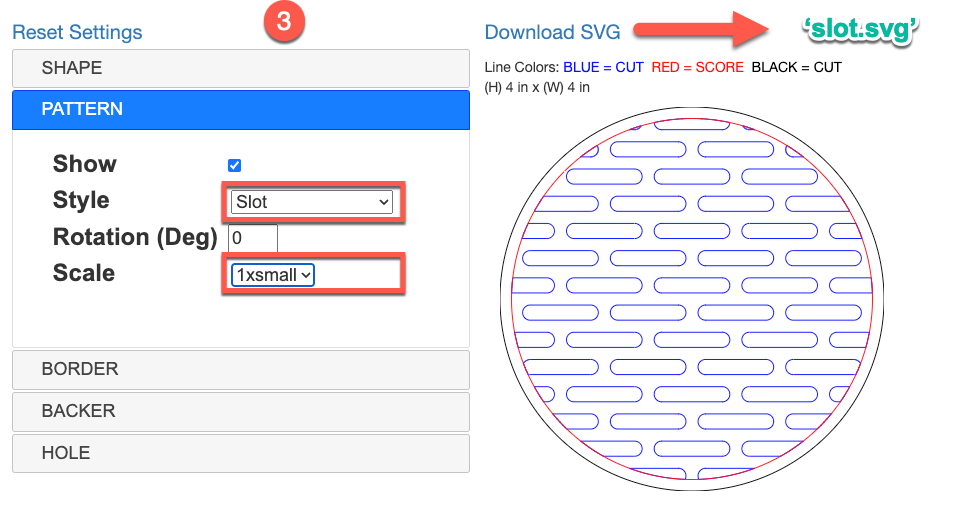
So for the first ‘Slot Pattern’ coaster I will use the following parameters. When completed, I downloaded the SVG and saved as ‘slot.svg’.
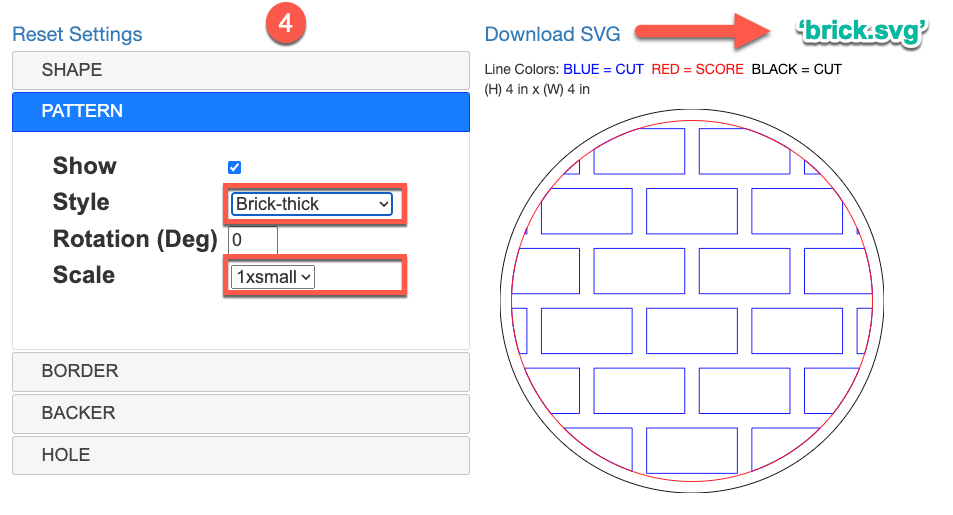
So for the first ‘Brick Pattern’ coaster I will use the following parameters. When completed, I downloaded the SVG and saved as ‘brick.svg’.
Now that all the coasters have been designed and have 4 SVG Files: weave.svg, honeycomb.svg, slot.svg, and brick.svg.
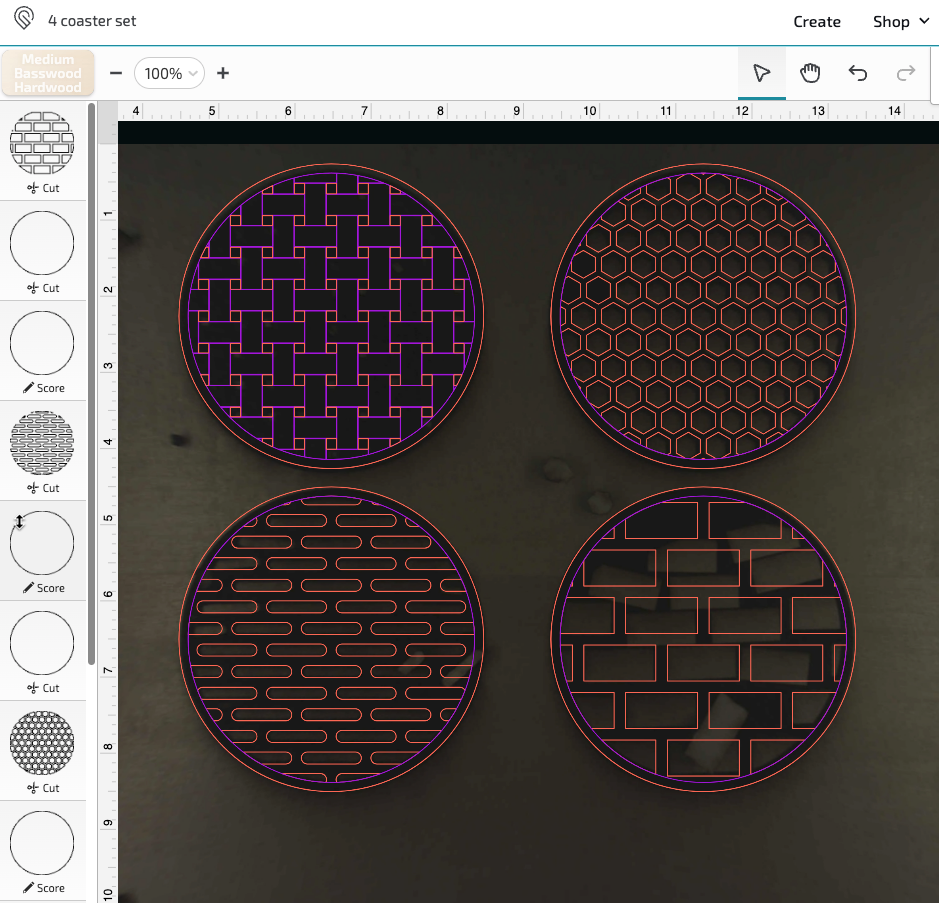
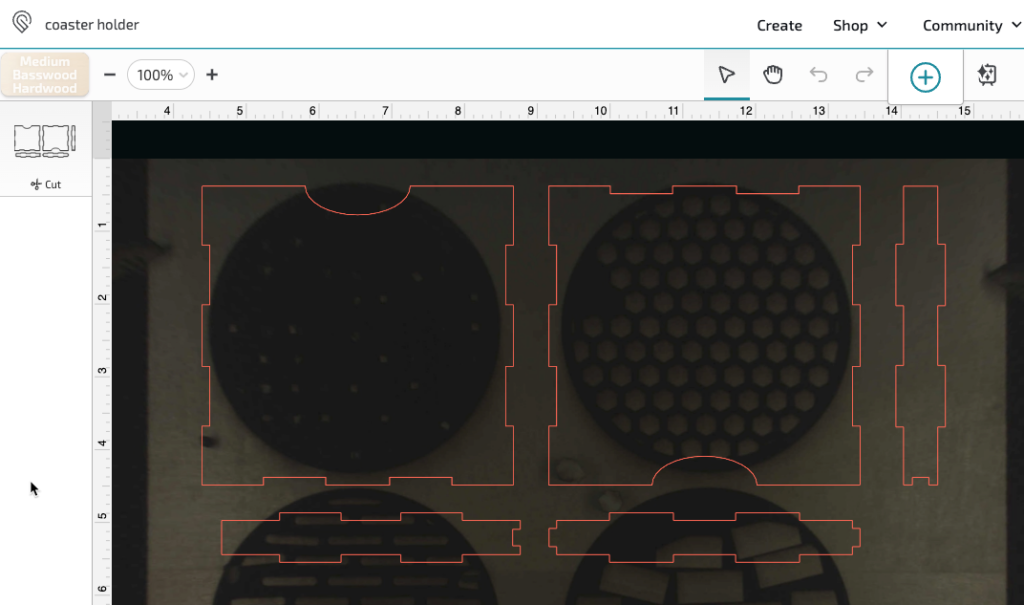
I’m going to import these SVG files into my Glowforge software for cutting and scoring.
IMPORTANT When you import the SVG files into your laser cutting software follow the line operation for each layer. BLUE/BLACK = CUT and RED = SCORE
I’m using my Glowforge’s application software, so I set my CUT and SCORE line appropriately.
The Glowforge software will show CUT Lines = RED and SCORE Lines = PURPLE. Your software may use different colors identifying different operations.
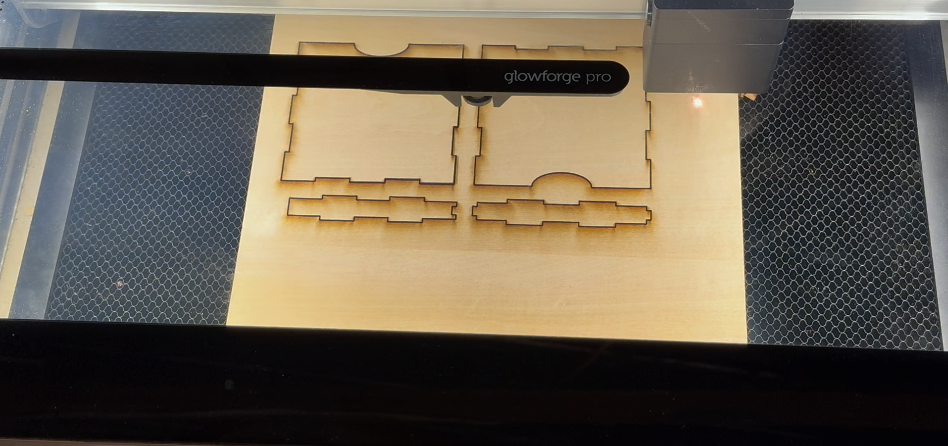
Next, I will cut the 4 coasters on the laser cutting machine.

Next, I’ll go ahead and sand the front and back of the coasters using an orbital sander.
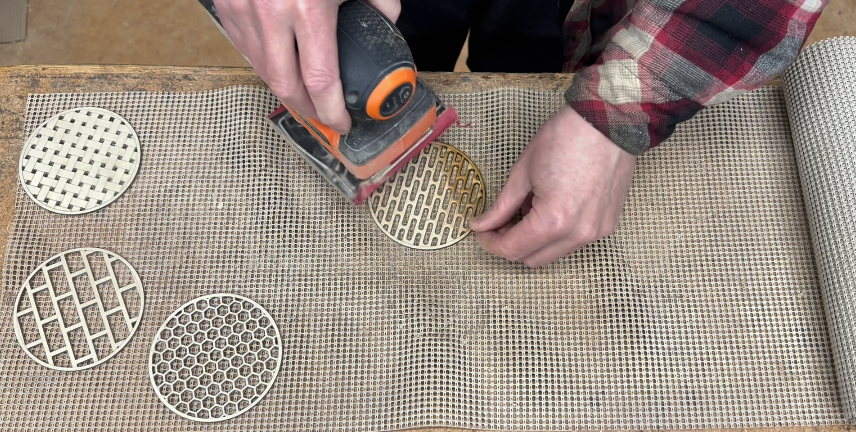
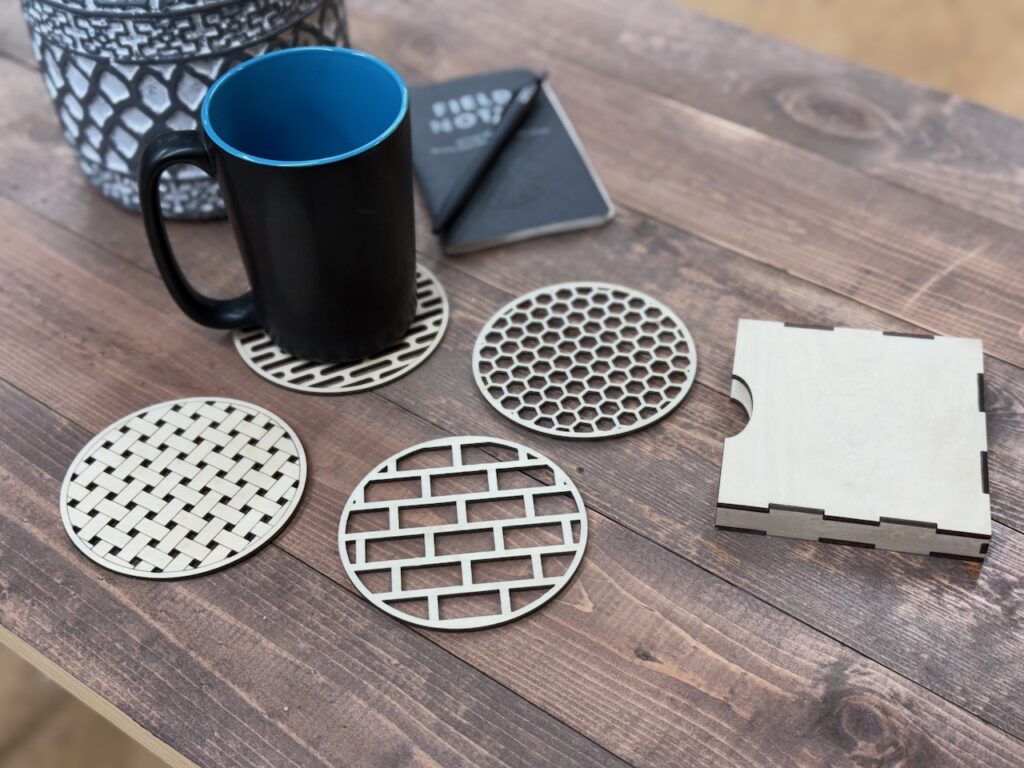
The coasters are now completed. Next I’ll design, cut, sand, and assemble the coaster box.
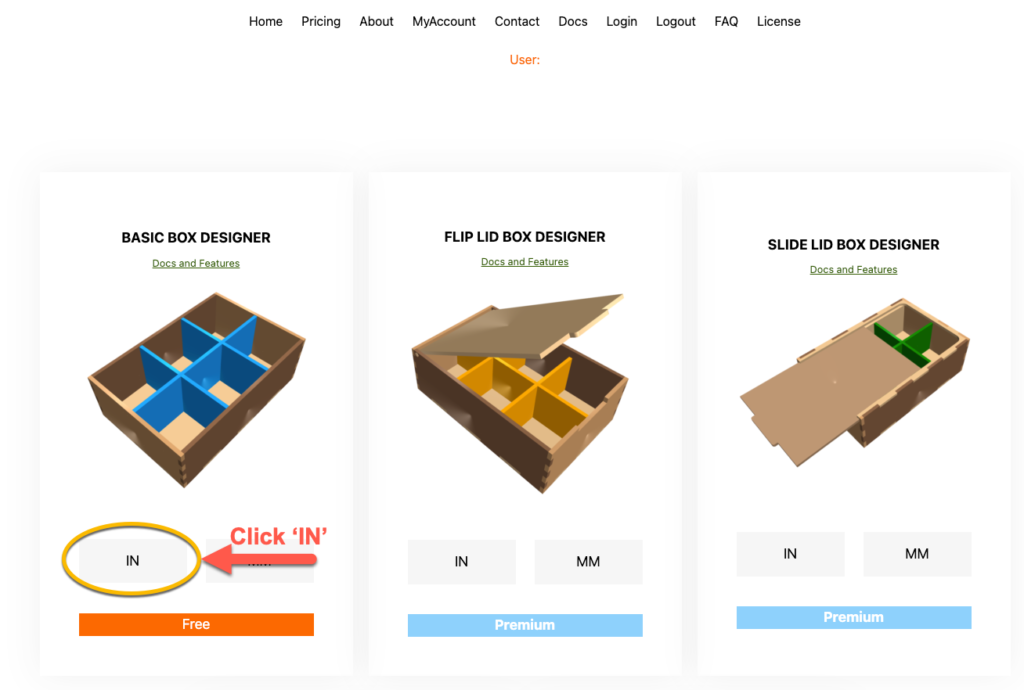
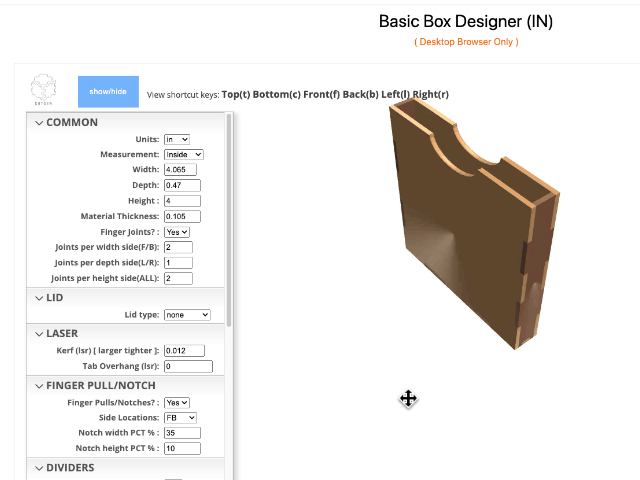
To design the coaster holder box, we will need to launch the Basic Box Designer generator app. From the Cutgen homepage, I’ll click on the Basic Box Designer’s ‘IN’ button as shown below.
Using the parameters on the left, I’ll enter in the following values to define the coaster holder box. I’ve selected ‘Inside’ measurement. Also, I enabled ‘Finger Pulls/Notches’ which will allow the user to easily grab and pull the coasters out of the holder box.
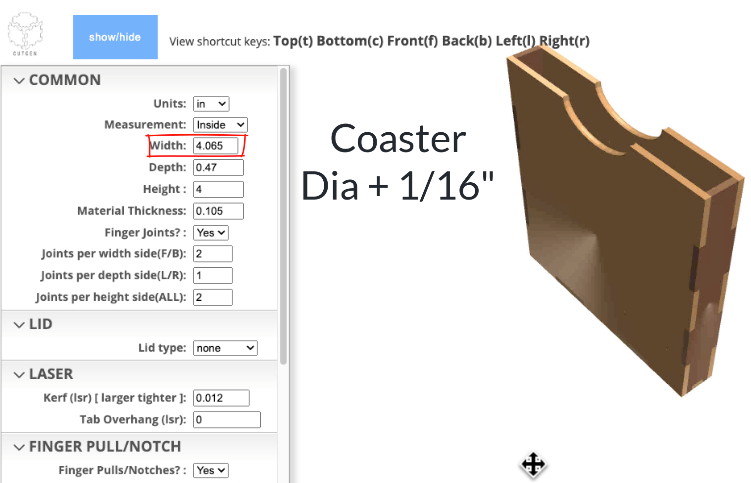
The Width of the box is calculated as the Coaster Diameter + 1/16″ (.065″) for additional clearance.
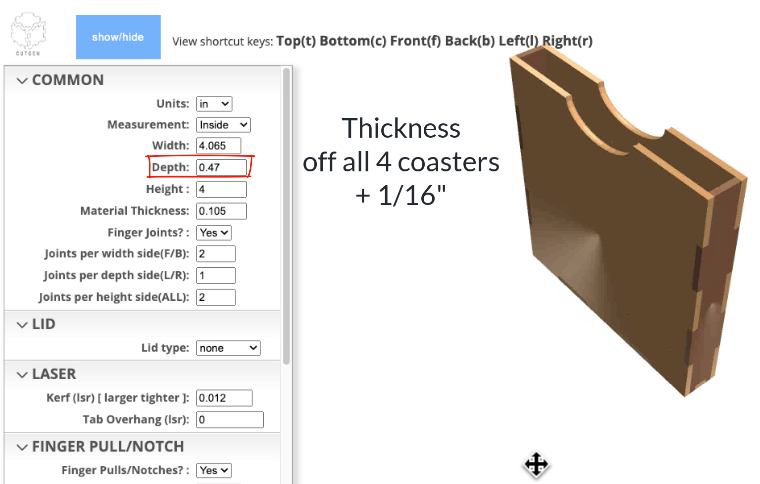
The Depth is calculated as the thickness of the 4 coasters (use calipers) + 1/16″ (.065″) additional clearance.
NOTE: One other thing to mention. Material Thickness and kerf are dependent upon the type of material and laser power settings. These settings need to be determined by the user. Material thickness can be measured using digital calipers. For kerf, there are plenty of resources and tools online to help set-up. These two parameters determine how well the box joints fit together. If the joints are too loose or too tight, one or both of these parameters are incorrect.

Now, I’ll cut the box and my Glowforge laser cutter.
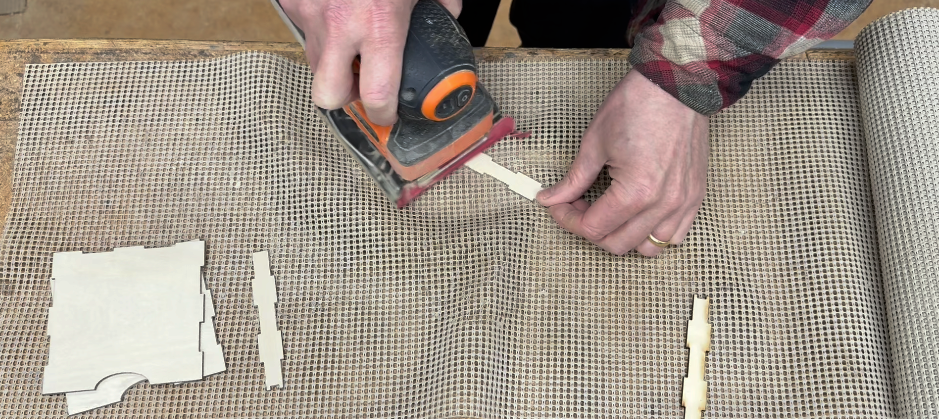
Now sand the front and back with an Orbital sander.
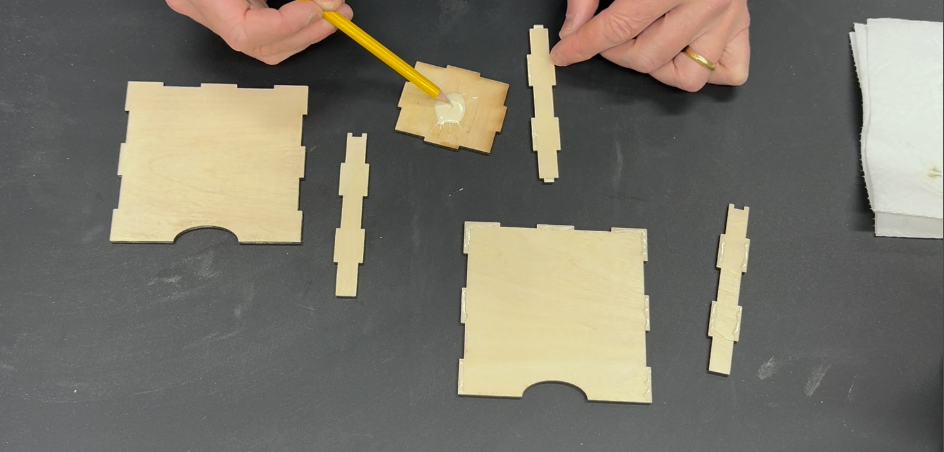
And finally, glue and assemble
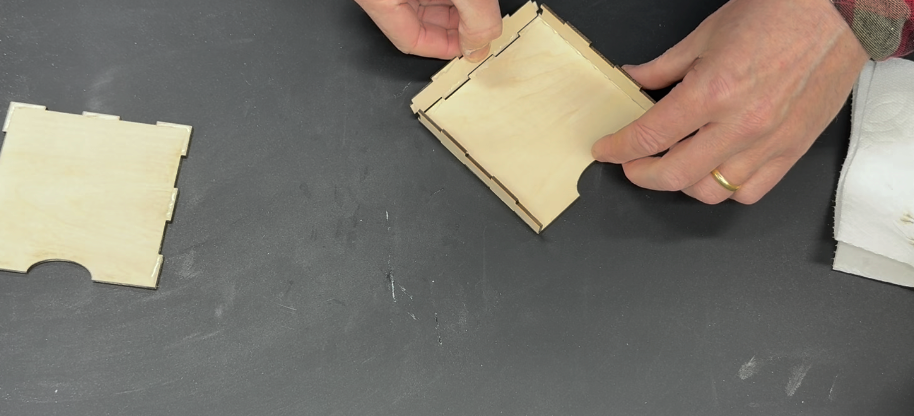
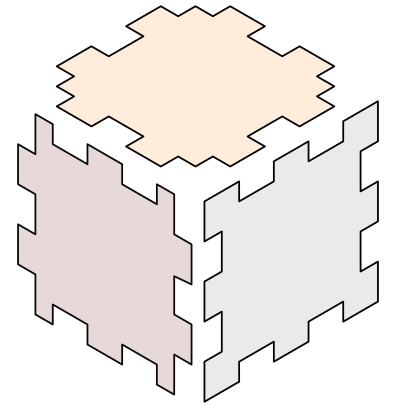
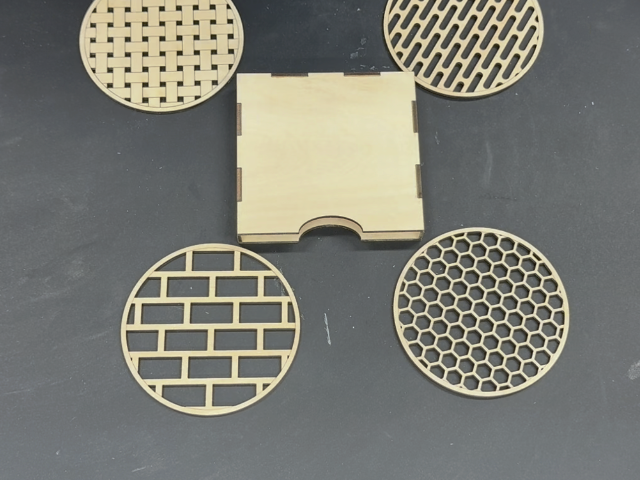
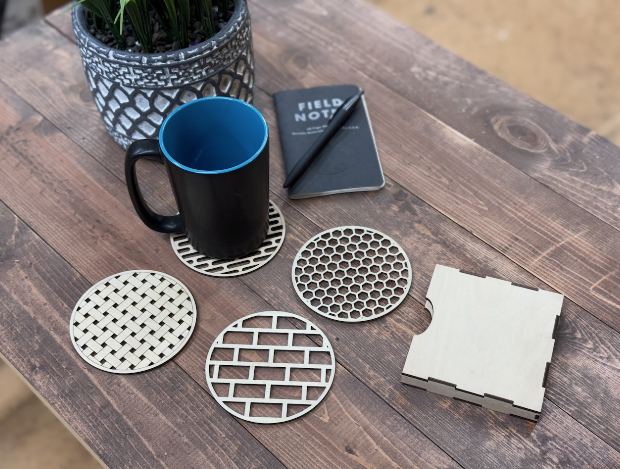
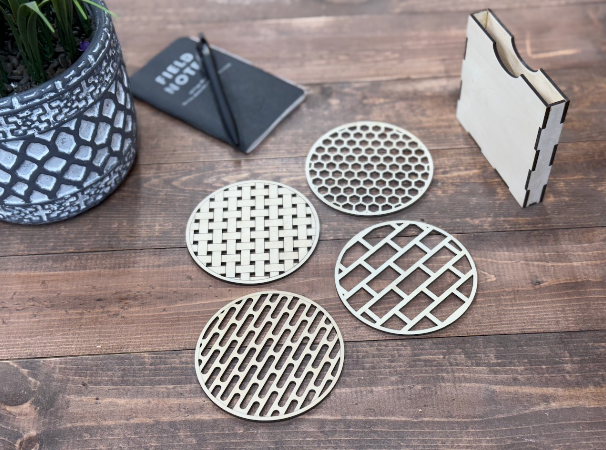
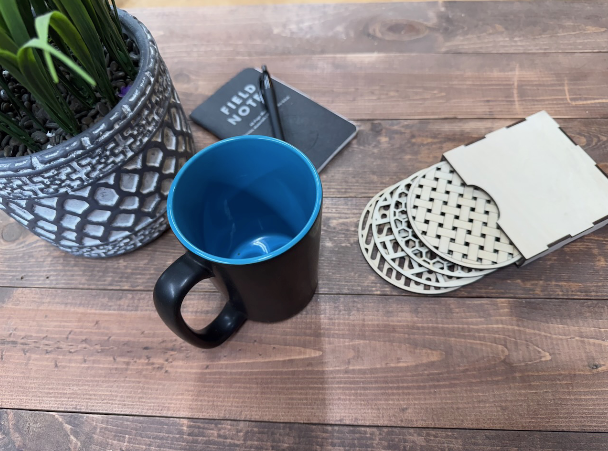
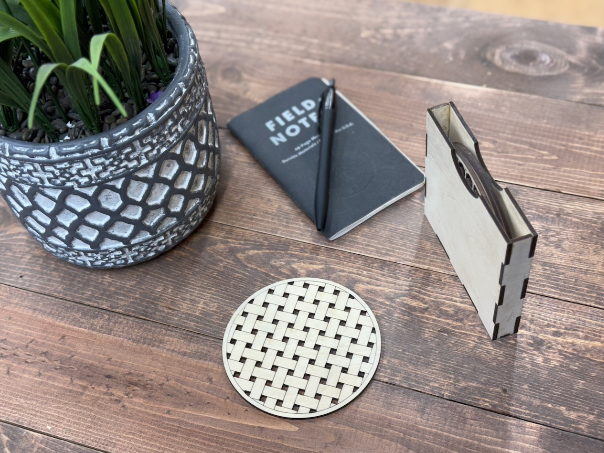
So, here is the final project.
At this point, the coasters can be painted or stained. It’s also a good idea to protect the coasters, so a protective finish such as Polyurethane, Shellac, Lacquer, or tung oil is suggested. The coaster box can be stained or painted. Oh, one other design consideration with the Coaster Box. You could engrave a saying, quote, or a picture on the outside to keep it fun and playful.
Here are some more Photos of the finished product.
That’s it. Thanks for following along.